A proper bathroom waterproofing installation starts with a sloped mortar bed and pan liner at the shower base, progresses through careful wall membrane application, and ends with thorough sealing at every seam and penetration. Each layer works together to create a continuous barrier that channels water to the drain and prevents moisture from reaching the framing, subfloor, and surrounding spaces. Missing or rushing any single step can lead to hidden water damage that costs thousands to repair years later.
Waterproofing is the invisible foundation of every durable bathroom. While tile, fixtures, and finishes get the attention, the layers beneath determine whether your bathroom stays dry or develops chronic problems.
Why Professional Waterproofing Matters More Than the Tile You See
Most bathroom water damage starts behind the walls and under the floor, not from visible leaks. Water migrates through grout joints, around fixtures, and at wall-to-floor transitions. Without a continuous waterproof barrier, moisture saturates wood framing, rots subfloors, and creates conditions for mold growth. By the time you notice stains on a ceiling below or smell mustiness, the damage is often extensive.
Professional installers understand that waterproofing is a system, not a single product. The pan liner, mortar beds, wall membranes, sealants, and drain assembly must all integrate correctly. A gap at a single corner or an improperly set drain can compromise the entire installation.
How Shower Pan Liners Create the First Line of Defense
The shower pan liner sits between two layers of mortar and forms a waterproof tray that catches any water penetrating the tile and top mortar bed. Installers use either PVC or CPE membrane material, typically 40-mil thickness, which remains flexible and won’t crack under normal use.
The liner extends at least six inches up each wall from the shower base. Corners require careful folding and patching rather than cutting, because any seam is a potential leak point. The drain assembly includes a clamping ring that sandwiches the liner between the upper and lower drain components, creating a watertight seal at the most critical penetration.
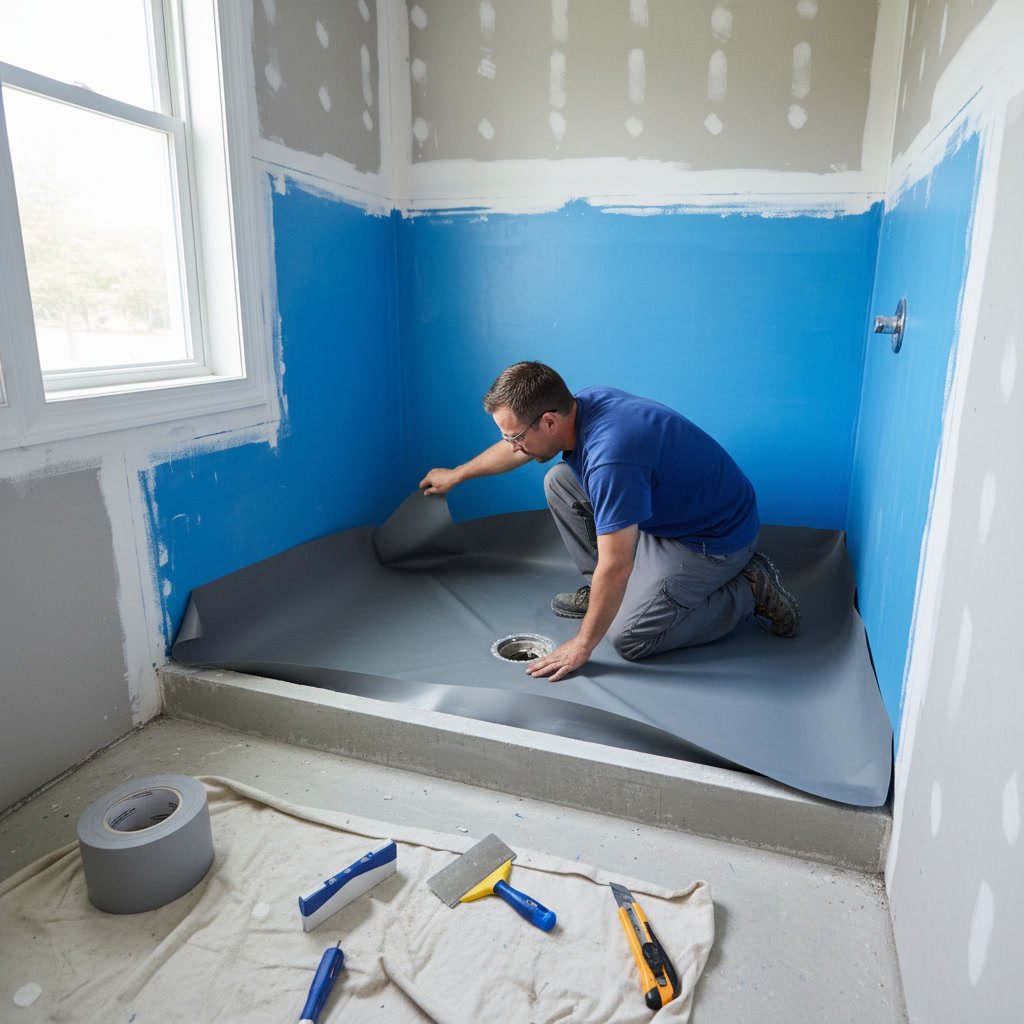
One detail most homeowners never see: the pre-slope. Before the liner goes down, installers create a thin mortar bed sloped at one-quarter inch per foot toward the drain. This pre-slope ensures any water that reaches the liner level flows to the weep holes in the drain, preventing standing water that could eventually find a weakness.
Setting the Mortar Bed Over the Pan Liner
After the liner is secure, a second mortar bed goes on top, forming the surface that receives the tile. This top bed typically ranges from one and a half to two inches thick at the drain and slopes to match the pre-slope beneath the liner. The mortar must be dense enough to support tile but not so wet that it sags or takes days to cure.
Professional installers use a dry-pack mix with just enough water to hold a ball shape when squeezed. They trowel and compact it carefully to avoid puncturing the liner below. The result is a solid, sloped surface ready for waterproofing membrane and tile.
Wall Membrane Application in Clarkston Bathroom Projects
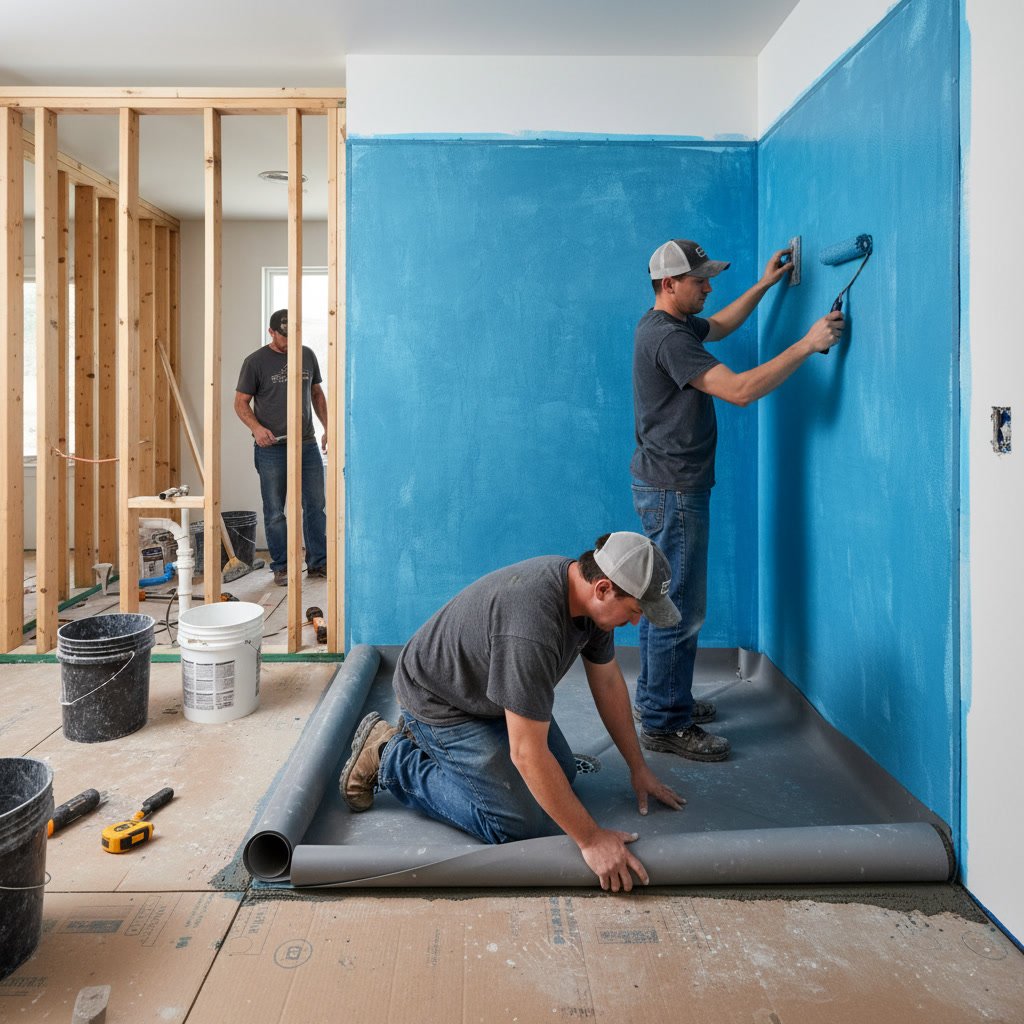
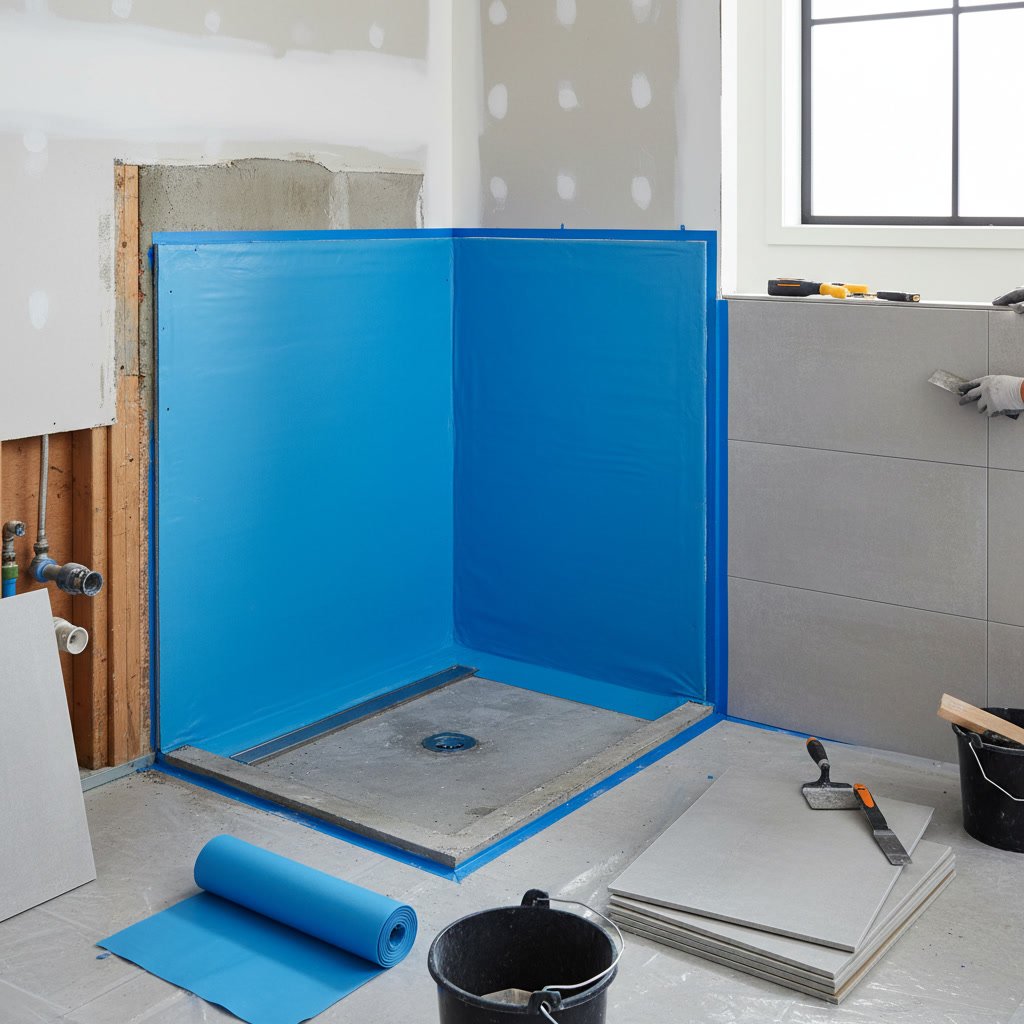
While the pan liner protects the floor, wall membranes guard vertical surfaces. Two main types dominate professional work: liquid-applied membranes and sheet membranes. Liquid membranes go on with a roller or trowel and cure to form a continuous rubber-like coating. Sheet membranes, often fabric-backed, get adhered with thinset or mastic and offer instant waterproofing.
Either way, the membrane must overlap the pan liner at the base of the walls by at least two inches and extend above the highest point water could reach, typically six feet or to the ceiling in fully tiled showers. Installers pay special attention to inside corners, outside corners, and any wall penetrations for valves or fixtures. Many pros reinforce these vulnerable spots with extra membrane strips before applying the main layer.
If you’re planning a full remodeling project, understanding these details helps you evaluate contractor bids and recognize shortcuts that lead to future problems.
Sealing Seams, Corners, and Transitions
Seams between membrane sheets and transitions between different waterproofing materials require dedicated sealants. Most professional-grade systems include compatible tapes, caulks, or liquid sealants designed to bond with the specific membrane in use. Mixing incompatible products can create weak points where materials don’t adhere.
Inside corners get reinforcing tape embedded in membrane or sealant. Outside corners often receive preformed plastic or metal corners that the membrane wraps around. The key is continuity: no gap, no matter how small, should exist in the waterproof envelope from the pan liner up the walls and across to the curb or threshold.
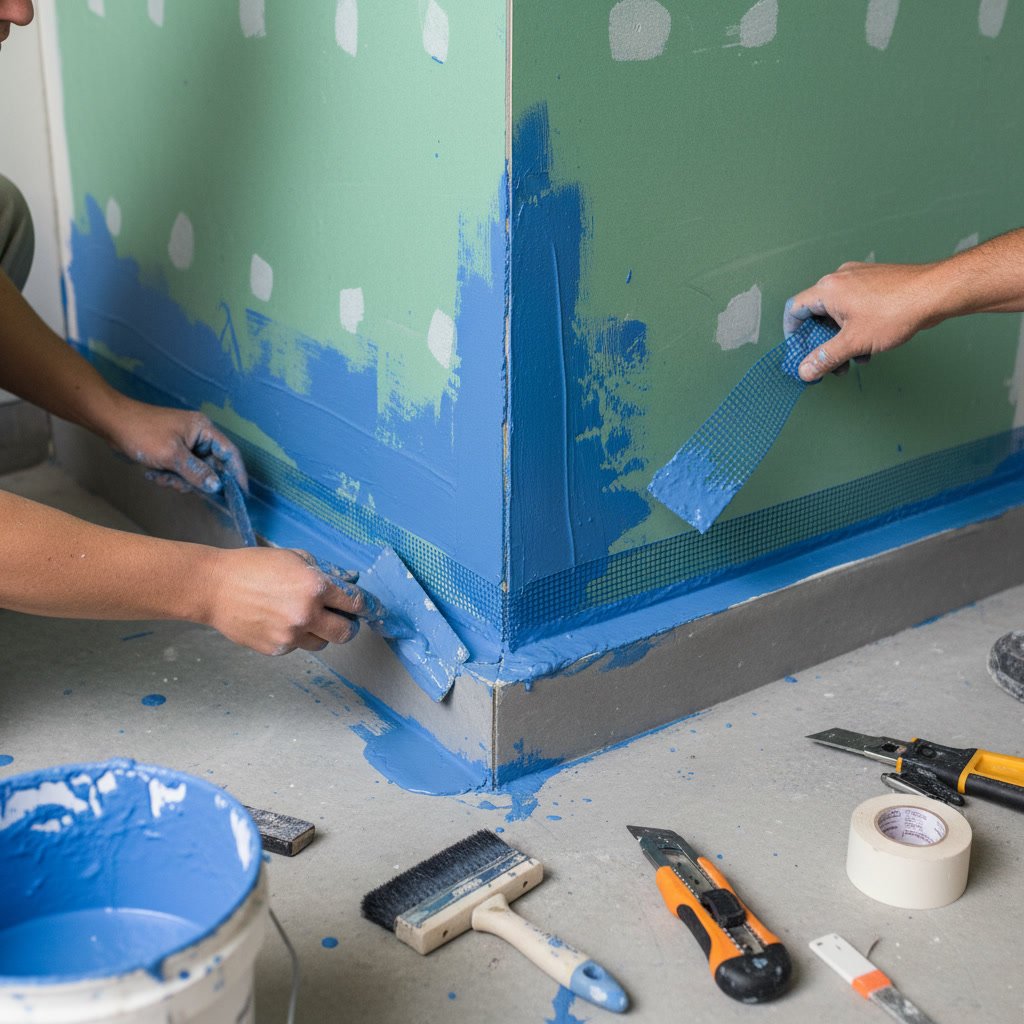
Step-by-Step Breakdown of a Complete Waterproofing Sequence
Understanding the order of operations clarifies why each step depends on the one before it.
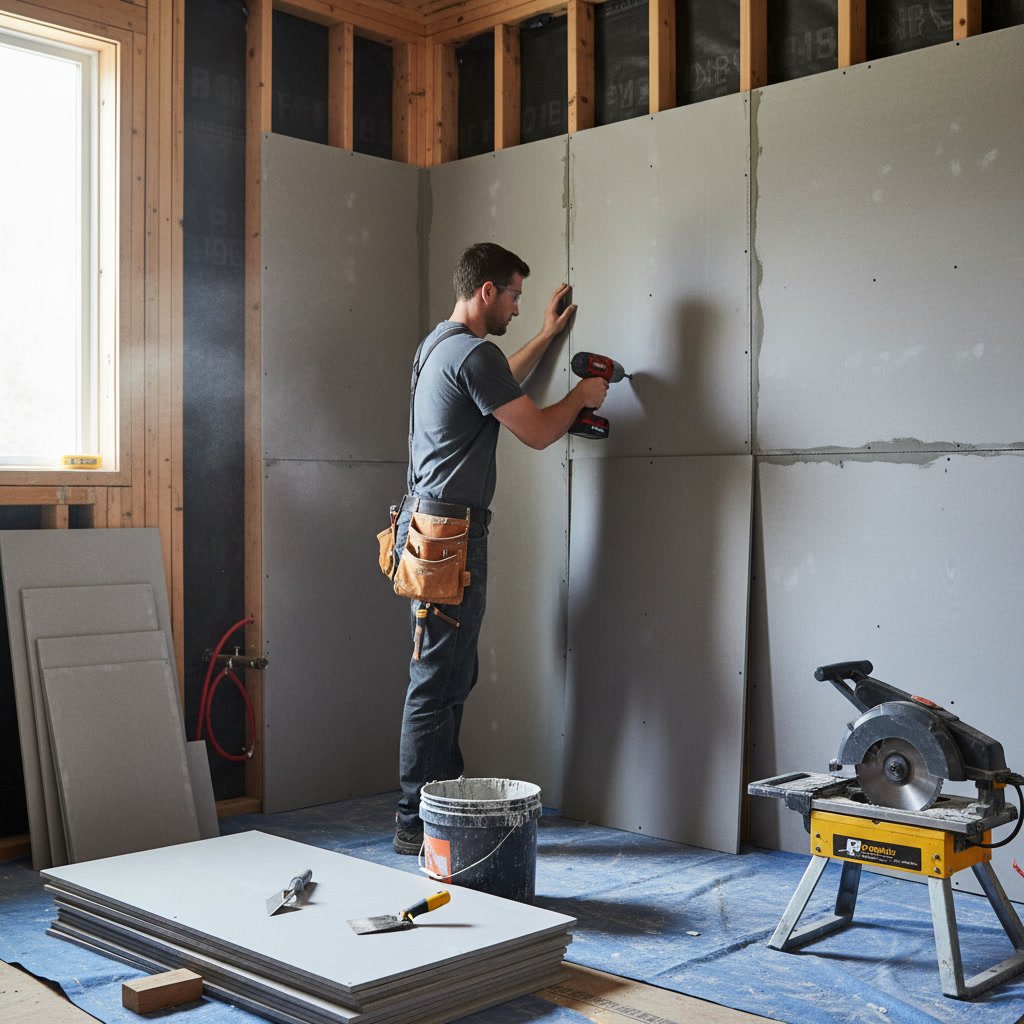
- Install and secure backer board on walls and curb, leaving a gap above the shower base for the pan liner to extend upward.
- Build the pre-slope mortar bed on the subfloor, sloping toward the drain location at one-quarter inch per foot.
- Lay the pan liner, folding corners neatly and running it six inches up each wall, then clamp it into the two-part drain assembly.
- Apply the top mortar bed, maintaining the slope and embedding the drain top to sit flush with the finished mortar surface.
- Apply wall waterproofing membrane, overlapping the pan liner and covering all backer board surfaces in the wet area.
- Seal all seams, corners, and penetrations using system-compatible tapes and sealants.
- Perform a flood test, filling the pan to the curb height and checking for leaks at the drain and liner edges after 24 hours.
- Proceed with tile installation only after confirming the waterproofing passed the flood test.
Skipping the flood test is one of the most common mistakes in rushed projects. It’s the only way to verify the system works before tile and grout lock everything in place.
Common Mistakes That Compromise Waterproofing Systems
Even experienced crews can make errors if they rush or cut corners. Puncturing the pan liner with a trowel or screw is the most obvious risk. Less obvious but equally damaging: using too much water in the top mortar bed, which can cause it to slump and tear the liner, or failing to embed reinforcing fabric in liquid membranes at corners and transitions.
Another frequent issue is improper drain height. If the drain sits too high, the top mortar bed becomes too thin and cracks. If it sits too low, water pools around the drain instead of flowing into it. Adjustable drains solve this, but only if the installer takes time to set them correctly during the pan liner installation.
Homeowners sometimes discover these problems only after noticing damage in rooms below the bathroom or when replacing tile years later. That’s why working with a contractor who treats waterproofing as seriously as finish work makes a measurable difference in long-term durability.
How Waterproofing Integrates With Other Bathroom Elements
Waterproofing doesn’t exist in isolation. It ties directly to flooring choices, fixture placement, and even electrical work. For instance, recessed lighting or exhaust fans in shower ceilings require careful sealing around penetrations. Valve rough-ins must account for membrane thickness so trim plates fit correctly after tile.
If you’re considering updates beyond the shower, reading about whether your bathroom needs a full remodel or simple updates can help you decide how far to take the project while the walls are open.
Material Choices That Affect Waterproofing Performance
Not all membranes and liners perform equally. PVC pan liners resist most household chemicals and remain flexible across a wide temperature range. CPE liners offer similar performance and are often less expensive. Liquid membranes like Redgard or Aquadefense provide seamless coverage on complex shapes but require proper thickness and cure time.
Sheet membranes such as Kerdi or Hydro-Blok speed installation and give instant waterproofing, making them popular for both pros and ambitious DIYers. The best choice depends on the specific shower layout, installer experience, and whether the project prioritizes speed or cost. Your contractor should explain which system they use and why it suits your bathroom design.
Substrate matters too. Cement backer board remains the standard under tile in wet areas, but foam backer boards with integrated waterproofing are gaining ground. Traditional backer still requires separate membrane application, while integrated boards simplify the process if seams and penetrations receive proper sealing.
Testing and Verifying the Waterproof Barrier Before Tile
Flood testing the shower pan is non-negotiable in professional work. Installers plug the drain, fill the pan to the curb or threshold, and mark the water level. After 24 hours, the level should remain unchanged. Any drop indicates a leak in the pan liner, drain connection, or curb.
Wall membranes don’t get flooded, but visual inspection catches most issues. Look for complete coverage, proper overlap at the pan liner, and reinforcement at corners and penetrations. Some installers spray walls with water and check the back side of the backer board for moisture, though this is less definitive than a pan flood test.
Catching a problem at this stage costs far less than discovering it after tile, grout, and fixtures are installed. Reputable contractors welcome your questions about testing procedures because they know their work will pass.
Protecting Your Investment With Quality Waterproofing
Waterproofing accounts for a relatively small portion of total bathroom remodel cost but delivers the highest return in terms of longevity and avoided repairs. A properly waterproofed shower lasts 20 years or more without leaks, mold, or structural damage. A poorly waterproofed one can fail within five years, requiring tear-out and rebuilding that costs more than doing it right the first time.
Choosing a contractor who understands and follows current waterproofing standards protects both your home and your budget. Complete Home Improvement Services LLC brings this level of care to every bathroom project, treating the hidden layers with the same attention as the visible finishes. Our team serves homeowners throughout Waterford and surrounding communities with installations built to perform for decades, not just pass inspection.
If you’re planning a bathroom upgrade and want the peace of mind that comes from proper waterproofing, our team is ready to walk you through the process and answer your questions. Reach out to Complete Home Improvement Services LLC at +12486186666 to discuss your project and schedule a consultation.