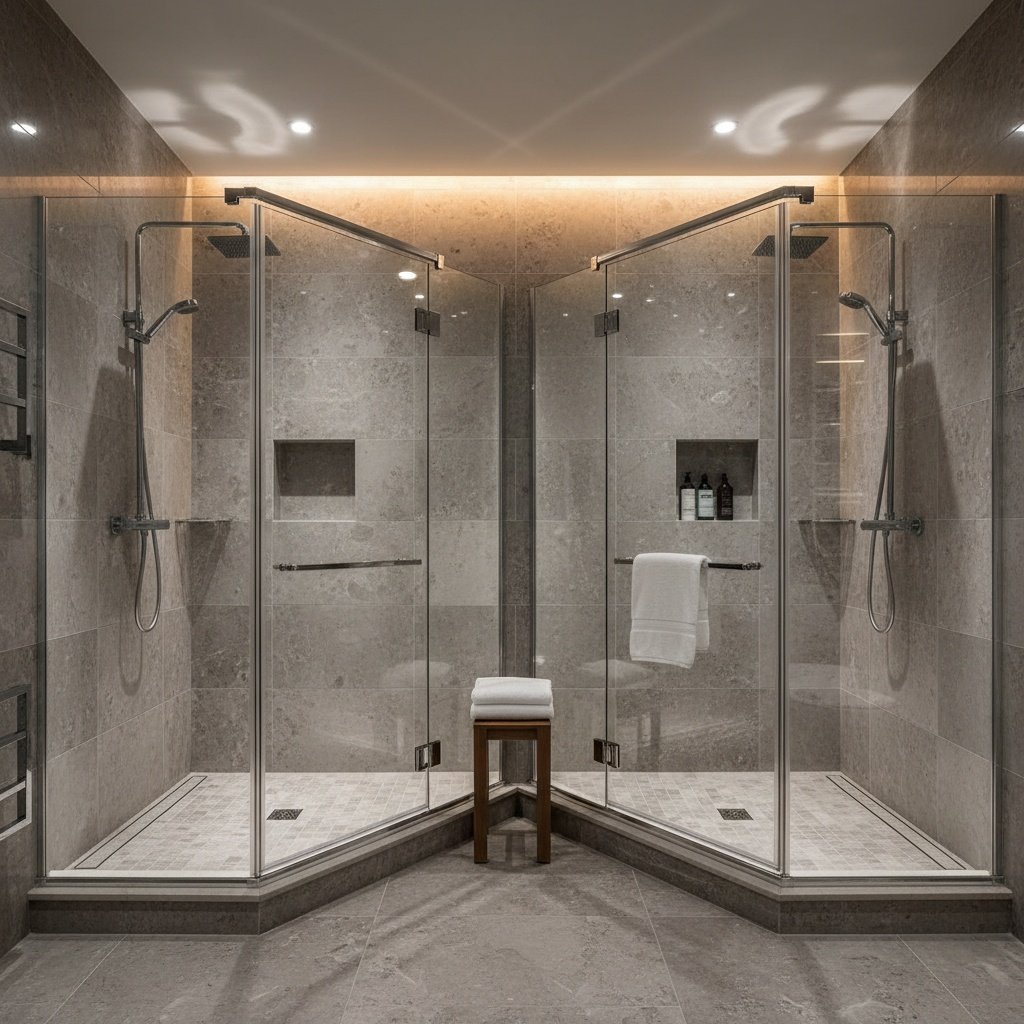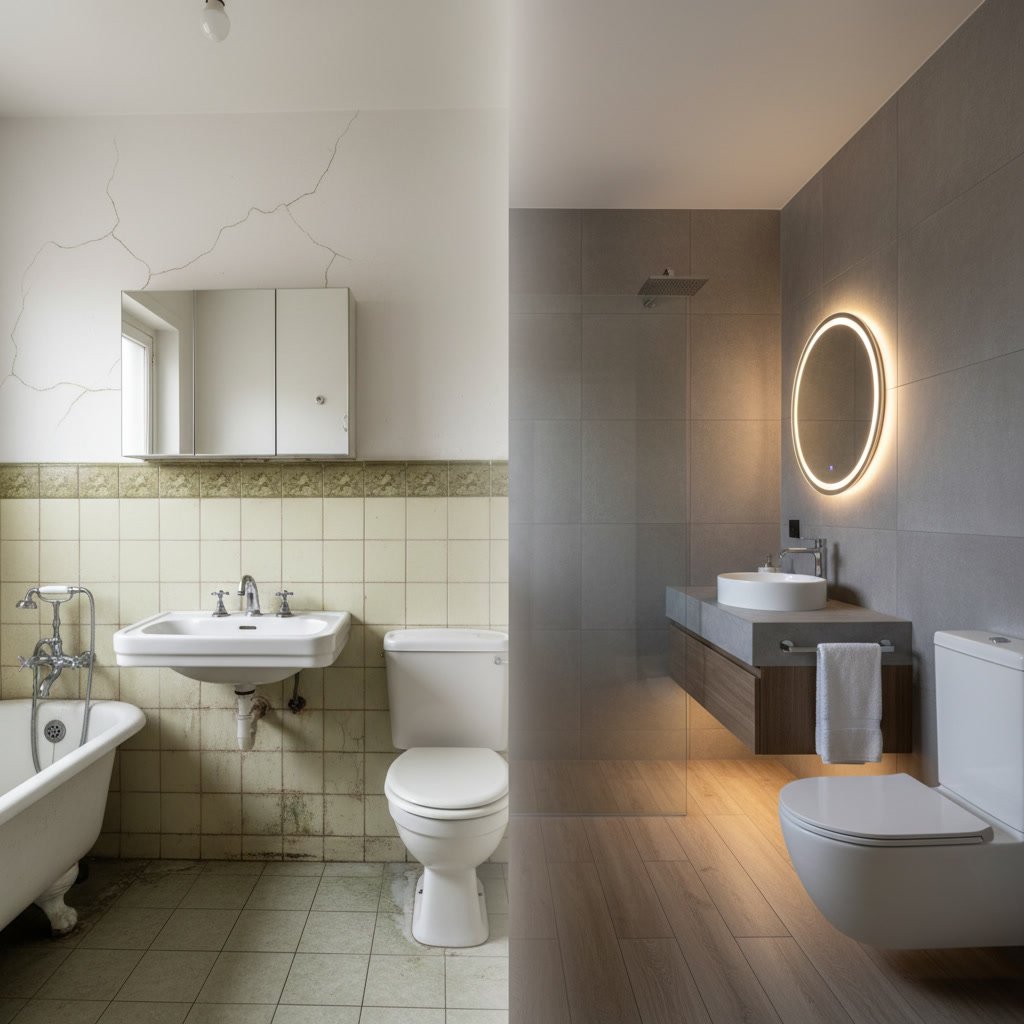
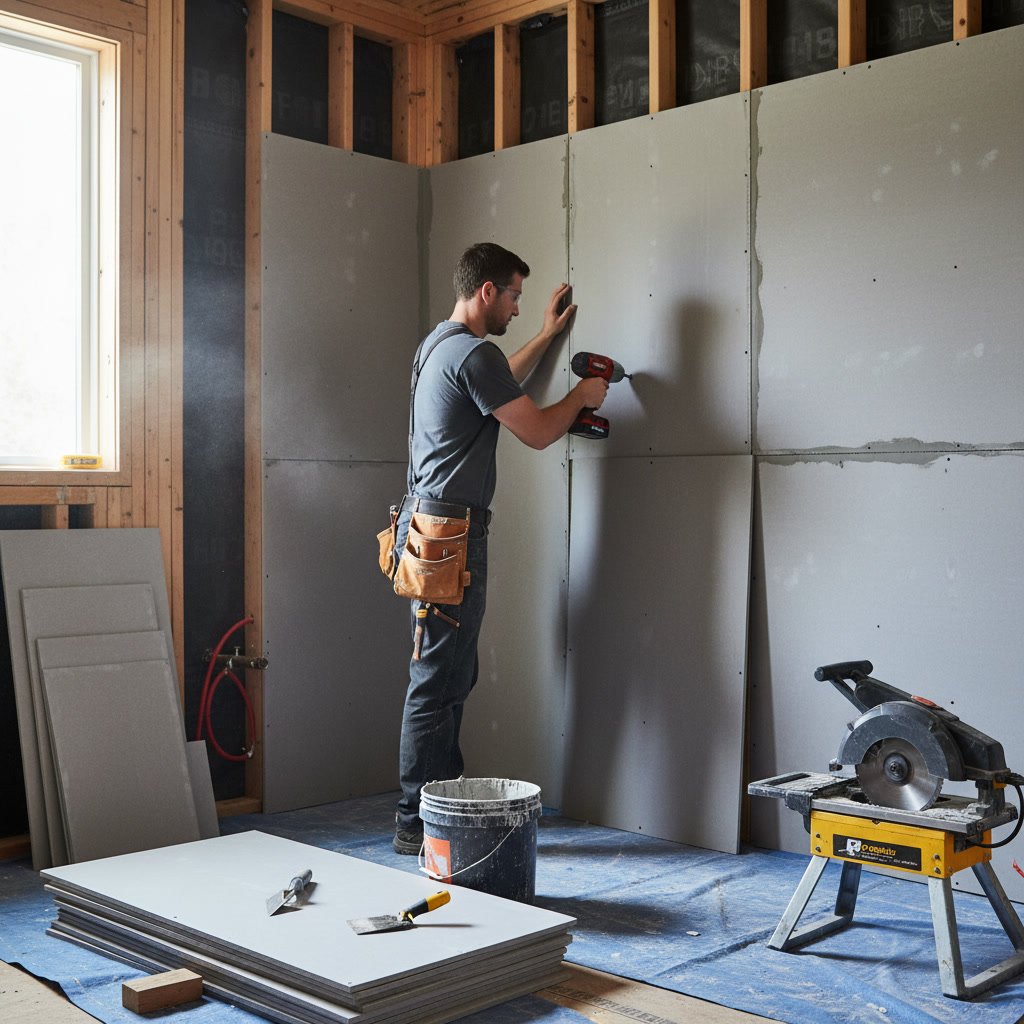
Proper bathroom backerboard installation creates a stable, waterproof foundation that prevents shower tiles from cracking, separating from the wall, and allowing water to seep into framing. Without the right substrate beneath your tile, moisture infiltrates wall cavities, causing mold, rot, and structural damage that costs thousands to repair. Backerboard solves this by providing a rigid, moisture-resistant surface that moves uniformly with your home and keeps water where it belongs.
Why Standard Drywall Fails in Wet Environments
Regular drywall absorbs moisture like a sponge. Even green board, marketed as moisture-resistant, breaks down when exposed to the constant humidity and direct water contact found in showers. The gypsum core swells, the paper face deteriorates, and the entire panel loses structural integrity. Tiles installed over compromised drywall crack along grout lines, hollow spots develop behind the tile, and water finds its way through every microscopic opening.
Once water reaches the drywall, it spreads horizontally behind your tile and vertically into floor joists and wall studs. By the time you notice soft spots, discolored grout, or a musty smell, the damage already extends far beyond what you can see. Most bathroom renovations that involve removing old tile reveal blackened studs, rusted fasteners, and insulation destroyed by hidden leaks.
How Backerboard Protects Your Investment
Cement backerboard and similar products resist moisture penetration because they contain no organic materials for mold to feed on. The cement core stays dimensionally stable when wet, which means tiles remain bonded and level. When combined with a proper waterproofing membrane, backerboard creates a two-layer defense system that keeps water out of your wall cavity entirely.
The rigid surface also distributes weight evenly across the wall. Large-format tiles, stone slabs, and heavy surrounds need a substrate that will not flex or sag. Backerboard provides that stability, preventing the micro-movements that cause grout to crack and tiles to detach. This stability matters even more in older homes where framing may have settled or shifted over decades.
Choosing the Right Backerboard Material
Cement board remains the most common choice. Brands like HardieBacker and Durock offer half-inch and quarter-inch thicknesses, with the thicker panels providing better rigidity for floors and the thinner versions fitting well on walls. These panels cut with a scoring knife and install with corrosion-resistant screws spaced every eight inches. The rough surface accepts thin-set mortar exceptionally well.
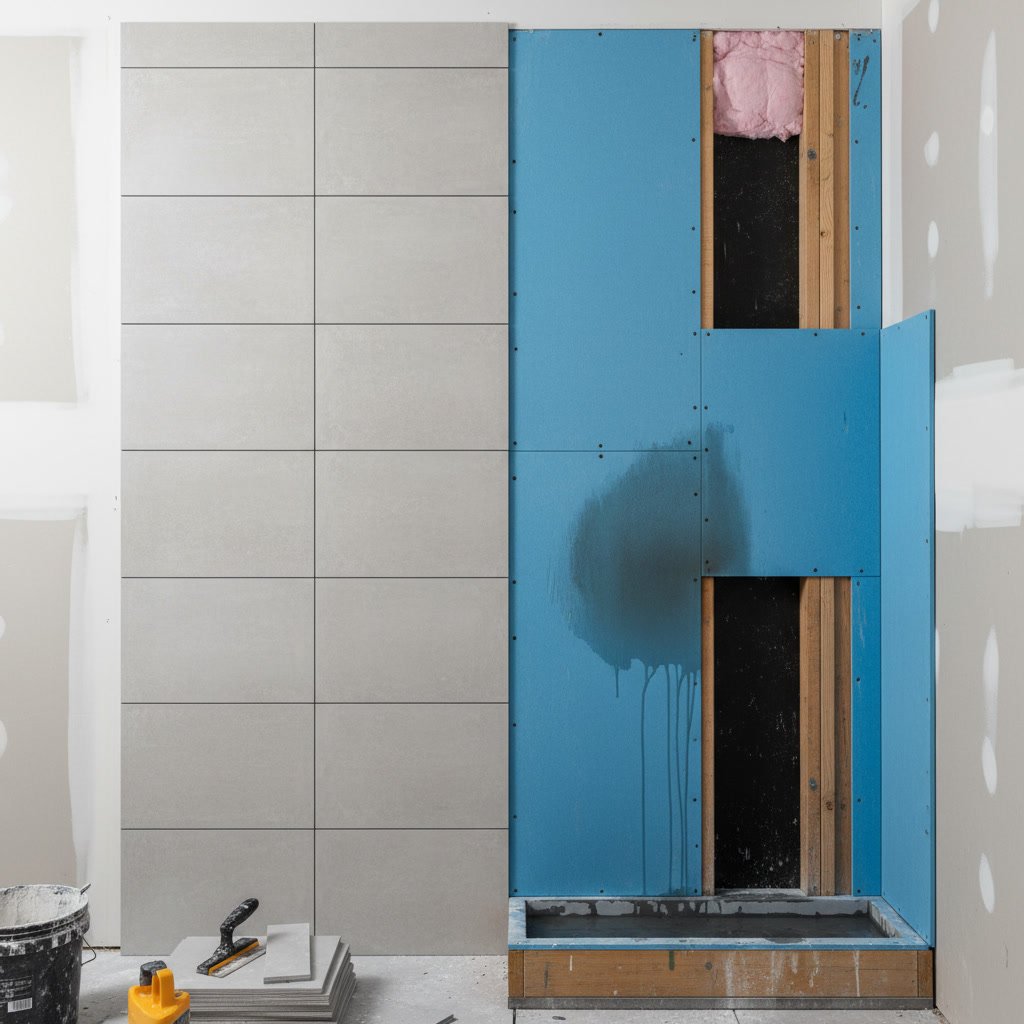
Foam backerboard systems like Wedi and Kerdi-Board weigh less and include built-in waterproofing. These panels install faster because you skip the separate membrane step, but they cost more per square foot. The smooth surface requires compatible adhesives, and the foam core compresses slightly under heavy loads, making them better suited for walls than floors.
Fiberglass-mat gypsum boards such as DensShield offer a middle ground. They install like drywall, weigh less than cement board, and include an integrated moisture barrier on one face. However, they lack the rigidity of cement products and work best in low-impact applications like tub surrounds rather than heavy tile installations.
Installation Steps That Prevent Future Problems
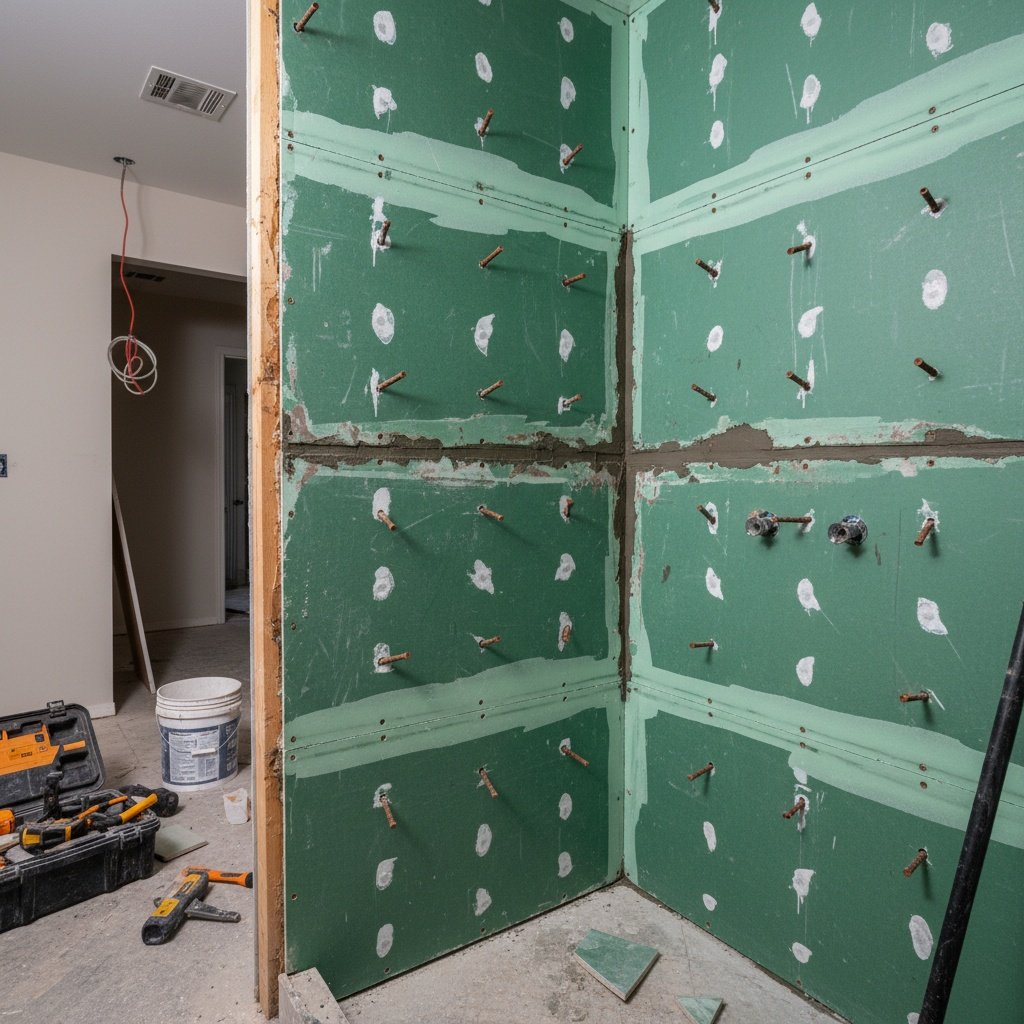
Proper framing preparation starts before any backerboard goes up. Studs should sit 16 inches on center, and any damaged or rotted wood gets replaced. Blocking between studs at mid-height adds support and prevents flexing. Gaps larger than an eighth inch between panels create weak points, so cutting accurately matters.
Fasteners must penetrate framing by at least one inch. Screws driven too deep create dimples that show through tile, while screws left proud prevent the panel from sitting flat. Seams should land over studs whenever possible, and horizontal seams need blocking behind them for support.
Waterproofing the seams and fastener heads comes next. Alkali-resistant mesh tape embedded in thin-set mortar covers every joint. Some installers apply a liquid membrane over the entire surface, while others use sheet membranes on walls and floors. Either method works if applied correctly, but skipping this step invites water intrusion at the most vulnerable points.
Common Installation Mistakes in Clarkston Homes
The most frequent error involves treating backerboard as inherently waterproof. The panels resist moisture but are not impermeable. Water still passes through seams, screw holes, and cut edges unless those areas receive proper sealing. Another mistake involves installing backerboard directly against a vapor barrier. Trapping moisture between layers creates condensation problems that rot framing from the inside.
Using standard drywall screws instead of corrosion-resistant fasteners leads to rust stains that bleed through grout and weaken the panel attachment. Failing to leave an eighth-inch gap at the tub or shower pan allows wicking, where the panel draws water upward through capillary action. These small oversights compound over time and turn into expensive repairs.
How Waterproofing Membranes Work With Backerboard
Liquid membranes brush or roll onto the backerboard surface and dry into a flexible, impermeable layer. Products like RedGard and AquaDefense seal the substrate while allowing it to breathe, preventing trapped moisture. Two coats at right angles ensure complete coverage, with extra attention paid to corners, seams, and penetrations.
Sheet membranes like Schluter Kerdi come in rolls and adhere to the backerboard with thin-set mortar or adhesive. Overlapping seams by two inches and using preformed corners creates a watertight enclosure. These systems work well when you need to waterproof complex shapes or want the confidence of a visible barrier before tiling begins.
Either approach works, but consistency matters more than the specific product. Skipping sections, applying too thin a coat, or failing to seal penetrations negates the entire system. If you are planning a full remodel, coordinating the waterproofing with your tile installer ensures no steps get missed.
Backerboard for Shower Floors and Curbs
Horizontal surfaces demand extra attention. Shower floors need a sloped mortar bed beneath the backerboard to direct water toward the drain. The backerboard sits on top of this pre-slope and adds rigidity for the tile layer. Without the proper slope, water pools and finds its way through grout over time.
Curbs and benches see constant water exposure and body weight. Using two layers of half-inch backerboard or switching to a thicker panel prevents sagging and cracking. Reinforcing the framing beneath these features with doubled studs or blocking distributes the load and keeps everything level. When you consider how much a full bathroom remodel costs, spending extra time on structural details makes sense.
Tile Selection and Its Impact on Backerboard Performance
Large-format tiles place more stress on the substrate because they span greater distances. A 12×24 tile flexes differently than a 4×4, and that movement transfers to the backerboard. Stiffer panels and closer stud spacing help, but the tile adhesive also plays a role. Modified thin-set bonds stronger and remains flexible, accommodating minor movement without cracking.
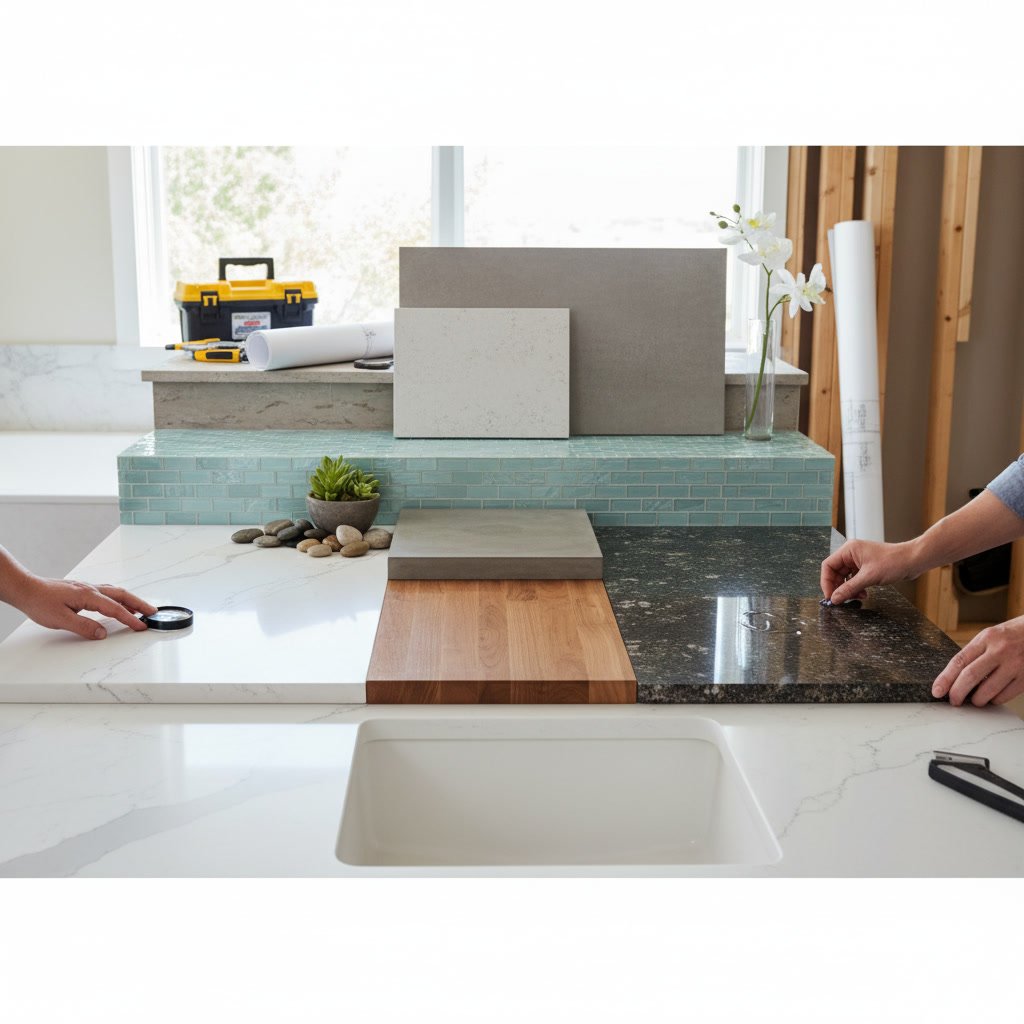
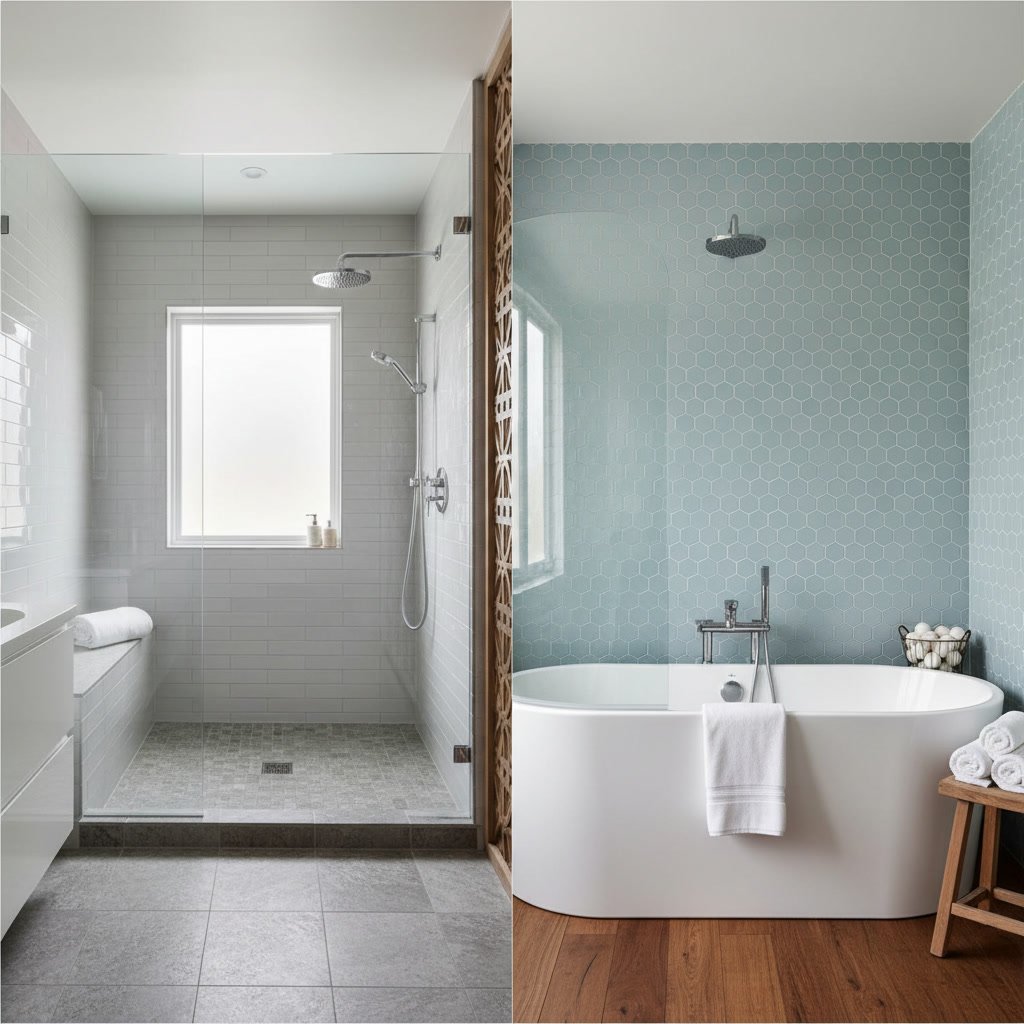
Natural stone tiles require specific considerations. Stone absorbs moisture from the mortar and can stain or warp if the backerboard or waterproofing fails. Using an uncoupling membrane between the backerboard and stone adds another layer of protection and allows differential movement without tile failure. If you are comparing shower surround materials, understanding these installation requirements helps you make an informed choice.
When to Replace Existing Substrates
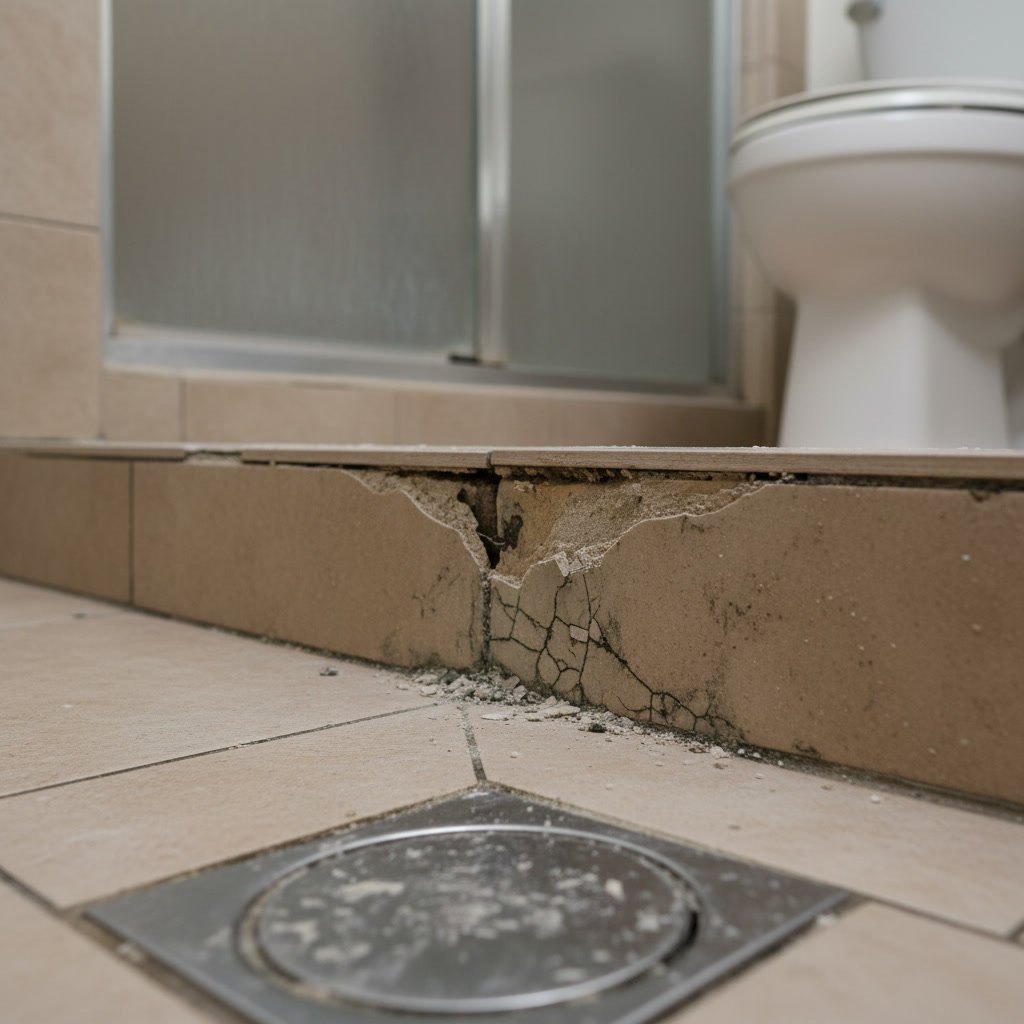
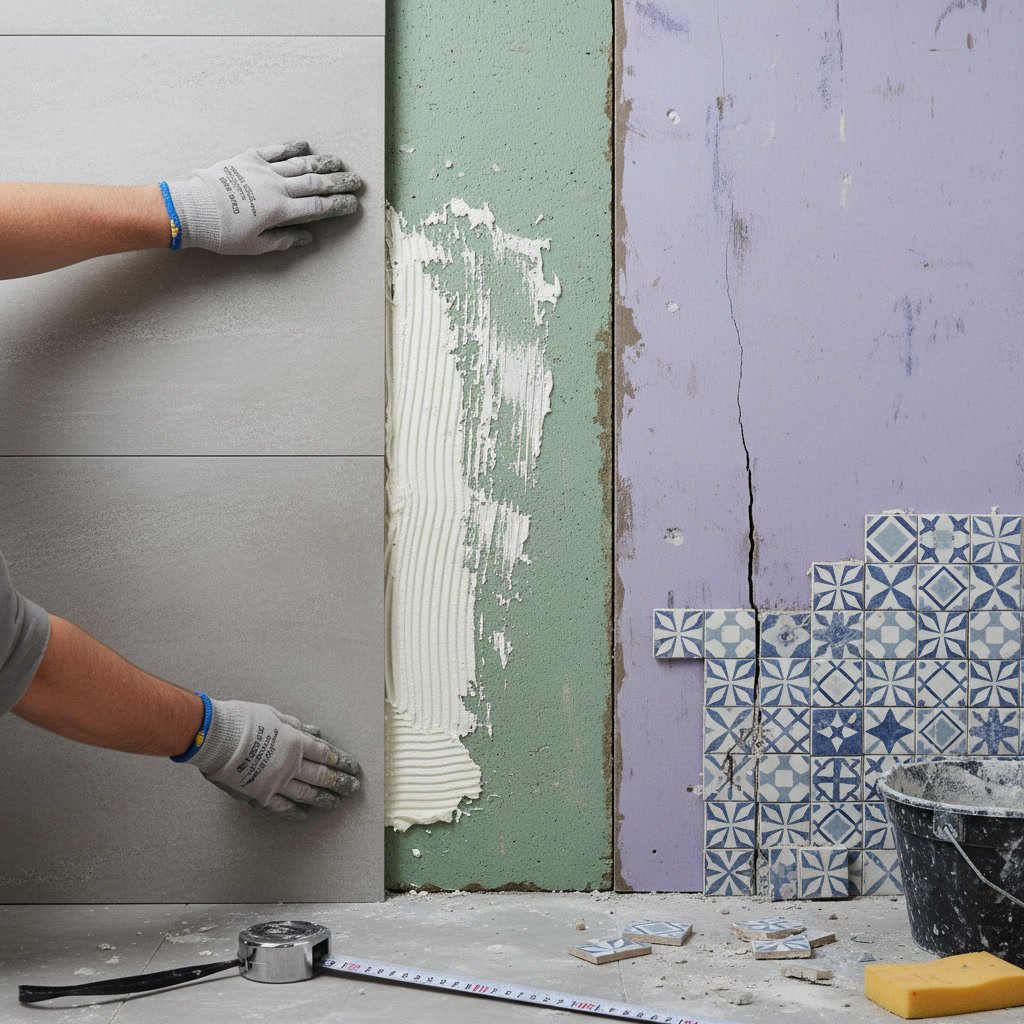
If you notice tiles that sound hollow when tapped, grout that crumbles easily, or a musty odor near your shower, the substrate has likely failed. Soft spots in the wall indicate moisture damage behind the tile. At that point, removing everything down to the studs and starting fresh costs less than repeated patch jobs that never solve the underlying problem.
Testing involves removing a few tiles in suspected areas and inspecting what lies beneath. Black mold, deteriorated drywall, or rusted fasteners confirm the need for replacement. Trying to tile over compromised material only hides the problem temporarily. Within months, the new tile exhibits the same cracks and hollow spots as the old installation.
Code Requirements and Best Practices
Most building codes require water-resistant materials in shower areas, but they do not always specify backerboard by name. Codes focus on performance standards, which backerboard meets when installed correctly. Local inspectors often have preferences based on regional climate and common building practices, so checking requirements before starting prevents costly corrections later.
Industry best practices go beyond code minimums. The Tile Council of North America publishes detailed installation handbooks that specify backerboard thickness, fastener spacing, and waterproofing methods for different applications. Following these guidelines ensures your shower performs well for decades, not just years. Complete Home Improvement Services LLC follows these standards on every project, treating each installation as if it were in our own homes.
Protecting Your Home With the Right Foundation
Backerboard creates the stable, waterproof base that keeps your shower functional and your home free from hidden water damage. Choosing the right material for your application, installing it according to best practices, and pairing it with proper waterproofing prevents the tile failures and structural problems that plague poorly executed bathroom projects. The small additional cost and effort during installation saves thousands in future repairs and gives you confidence that your shower will perform as intended.
Complete Home Improvement Services LLC installs backerboard and waterproofing systems that meet industry standards and exceed typical contractor practices. Our team handles every phase of your bathroom project, from framing repairs to final tile placement, ensuring nothing gets overlooked. If you are ready to build a shower that lasts or need to repair existing water damage, call +12486186666 to discuss your project and get an honest assessment of what it takes to do it right.